If you’re a 3D artist, you're likely already familiar with the potential of Redshift. As a GPU-accelerated render engine, it promises stunning visuals. Yet, there are instances where your personal GPU might fall short. Enter the concept of a render farm. Today, we'll discuss two methods to utilize Redshift on a render farm, using Drop & Render as our case study.
1. Application Rendering
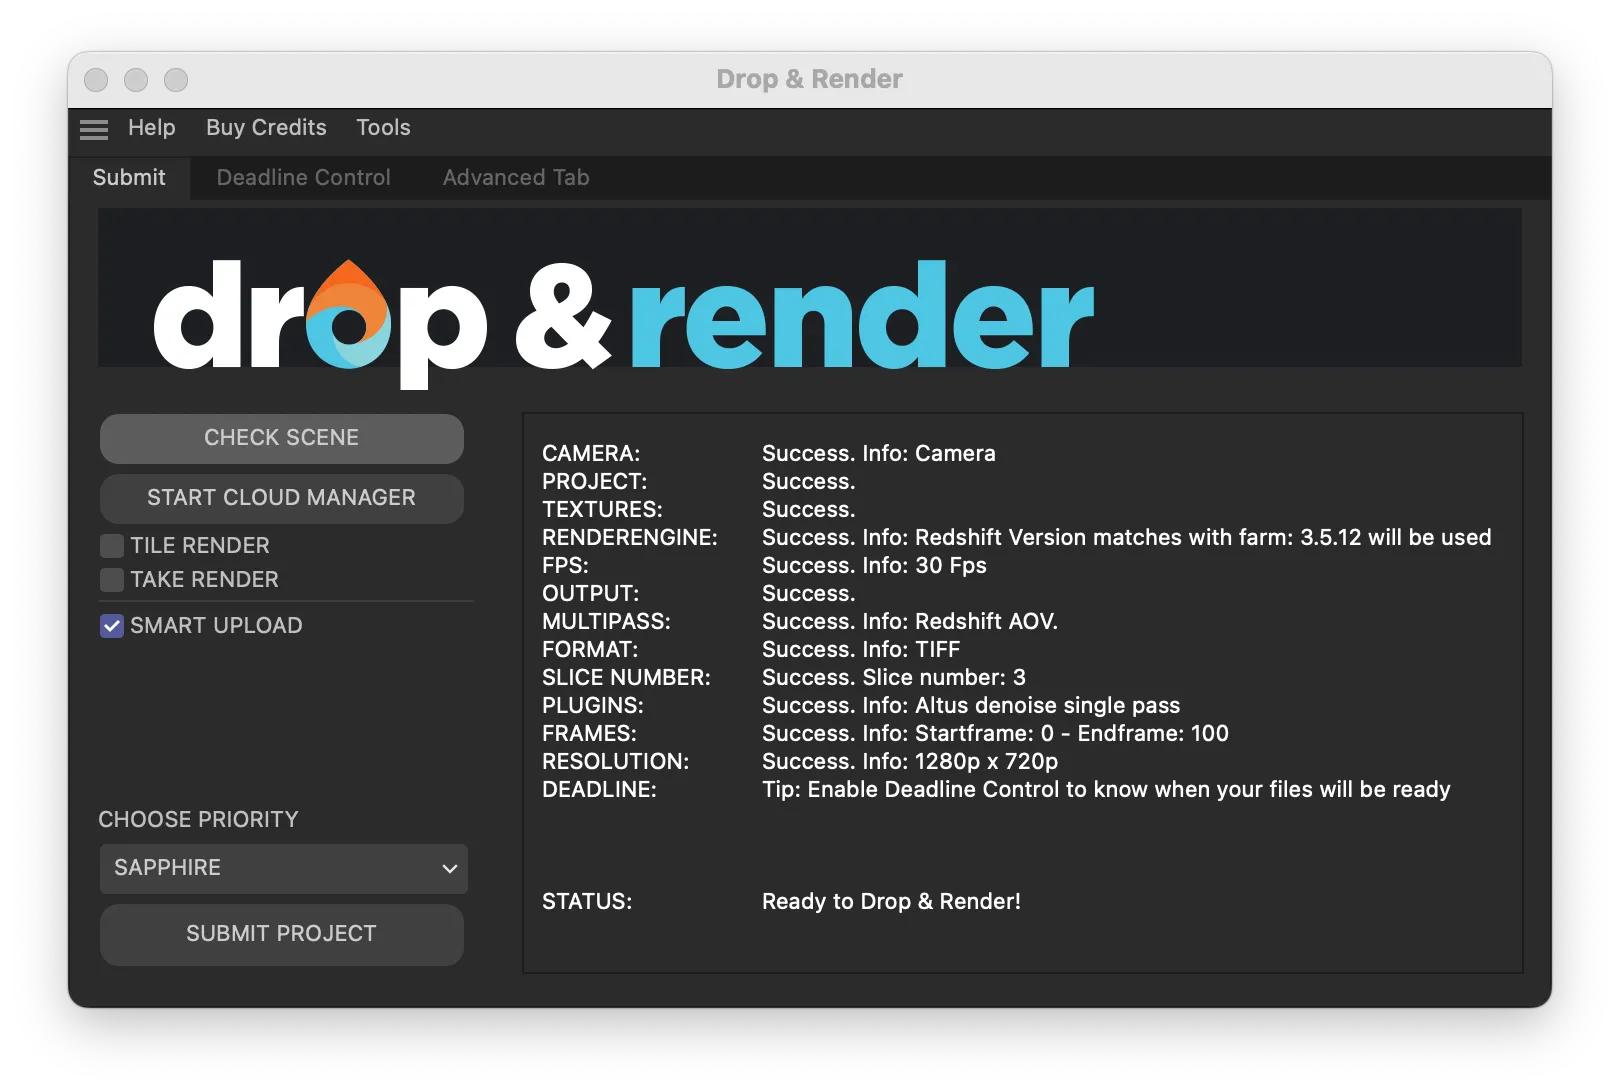
When using application rendering, the Redshift job is rendered in conjunction with your primary 3D application, such as Cinema 4D, Houdini, or Blender. With Drop & Render, you can harness the power of specially crafted in app plugins for these applications, allowing you to submit jobs without ever leaving your 3D software interface.
Drop & Render will essentially recreate the environment of your workstation. This means the plugin will identify your Redshift version, the version of your 3D application, and any other plugins you might be using. With over 60 versions of Redshift available on our farm, rest assured that your specific version will be automatically selected.

This method is extremely easy and feels just like rendering locally and all Redshift features are support
- ACES workflow
- AOV
- Crytomatte passes
- Proxy files
- Post FX’s
Pros
- Single-click Submission: No need to deal with exporting .RS files or juggling project assets.
- Sync Files: Avoid the hassle of uploading assets repeatedly; our system keeps everything in sync.
- Scene Check: With checks for over 400 settings in your scene, you can be confident before you hit that submit button.
Cons
- Speed: Redshift Standalone rendering might be faster since there's no need for texture, geometry, or simulation conversions.
- Limitations: The scope is limited to Cinema 4D and Blender projects on Drop & Render.
Here is a video we created on how to render redshift jobs on a render farm. Within your 3D application.
2. Standalone Rendering
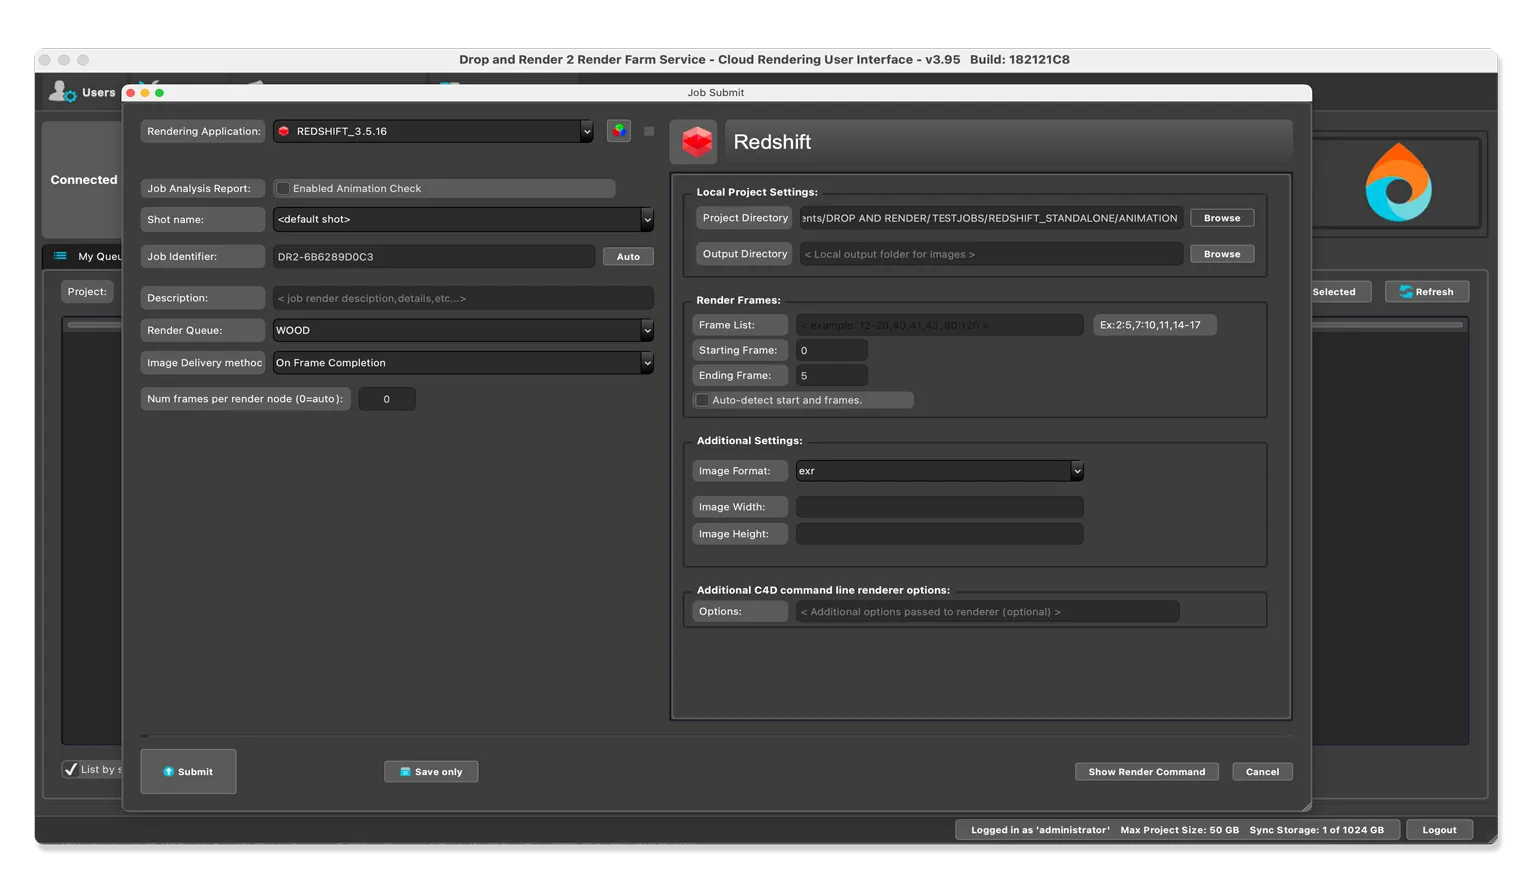
Standalone rendering means we render with the Redshift Commandline. This method requires you to create Redshift Proxy files (.rs files), which can be rendered directly with Redshift. These proxy files essentially encapsulate everything about your scene, ensuring faster render times as no conversion is needed.
Each .rs files contains your: camera, redshift render settings, AOV’s, all geometry, output settings ect. This file is always the same as your Redshift IPR preview.
Every application supported by Redshift has the option to export a Redshift Proxy Sequence. For instance, in Cinema 4D, you can find it under File -> Export -> RS Proxy (*.rs). Once the export is done, each frame of your animation is converted into a proxy file.
Submit the project
When you install Drop & Render you install something called our Cloud Manager. This tool acts as a bridge between your workstation and the render farm. Simply drop your proxy file into the Cloud Manager, choose your Redshift version, make any necessary tweaks, and let the render farm, equipped with over 400 GPU cards, take over!
Download the cloud manager here.

Pros
- Reliability: Since everything is baked into a single file, Redshift consistently produces the desired output.
- Speed: No pre-calculations are required, ensuring faster renders.
- Versatility: Render with any application - Houdini, Maya, 3Ds Max, Cinema 4D, Kanata, Blender, and more.
Cons
- Setup Time: Exporting .rs proxy files requires an additional step.
- File Size: Given that each file contains all textures, the overall project size might be substantial.
- No Pre-checks: It's wise to send 1 or 2 test frames before dispatching the entire range.
Ready to turbocharge your rendering? Whether you choose Application Rendering or Standalone Rendering, the power and efficiency of a render farm are undeniable.
Happy rendering!


