
Drop & Render is built for teams!
Learn how Drop & Render lets you manage your team. We offer a shared credit pool and common invoicing with per-member accounts, renders and usage statistics. All of this at no upcharge compared to our individual plan!
Why use a team?
Our team system offers a better way to manage Drop & Render accounts for your whole company. Each team member can only access their own renders, but payments, invoicing and cloud resources are shared amongst the entire team.
Manage all payments in one place
Your entire team shares the same payment profile. Every member's renders use the same credits, and all your invoices go to the same place.
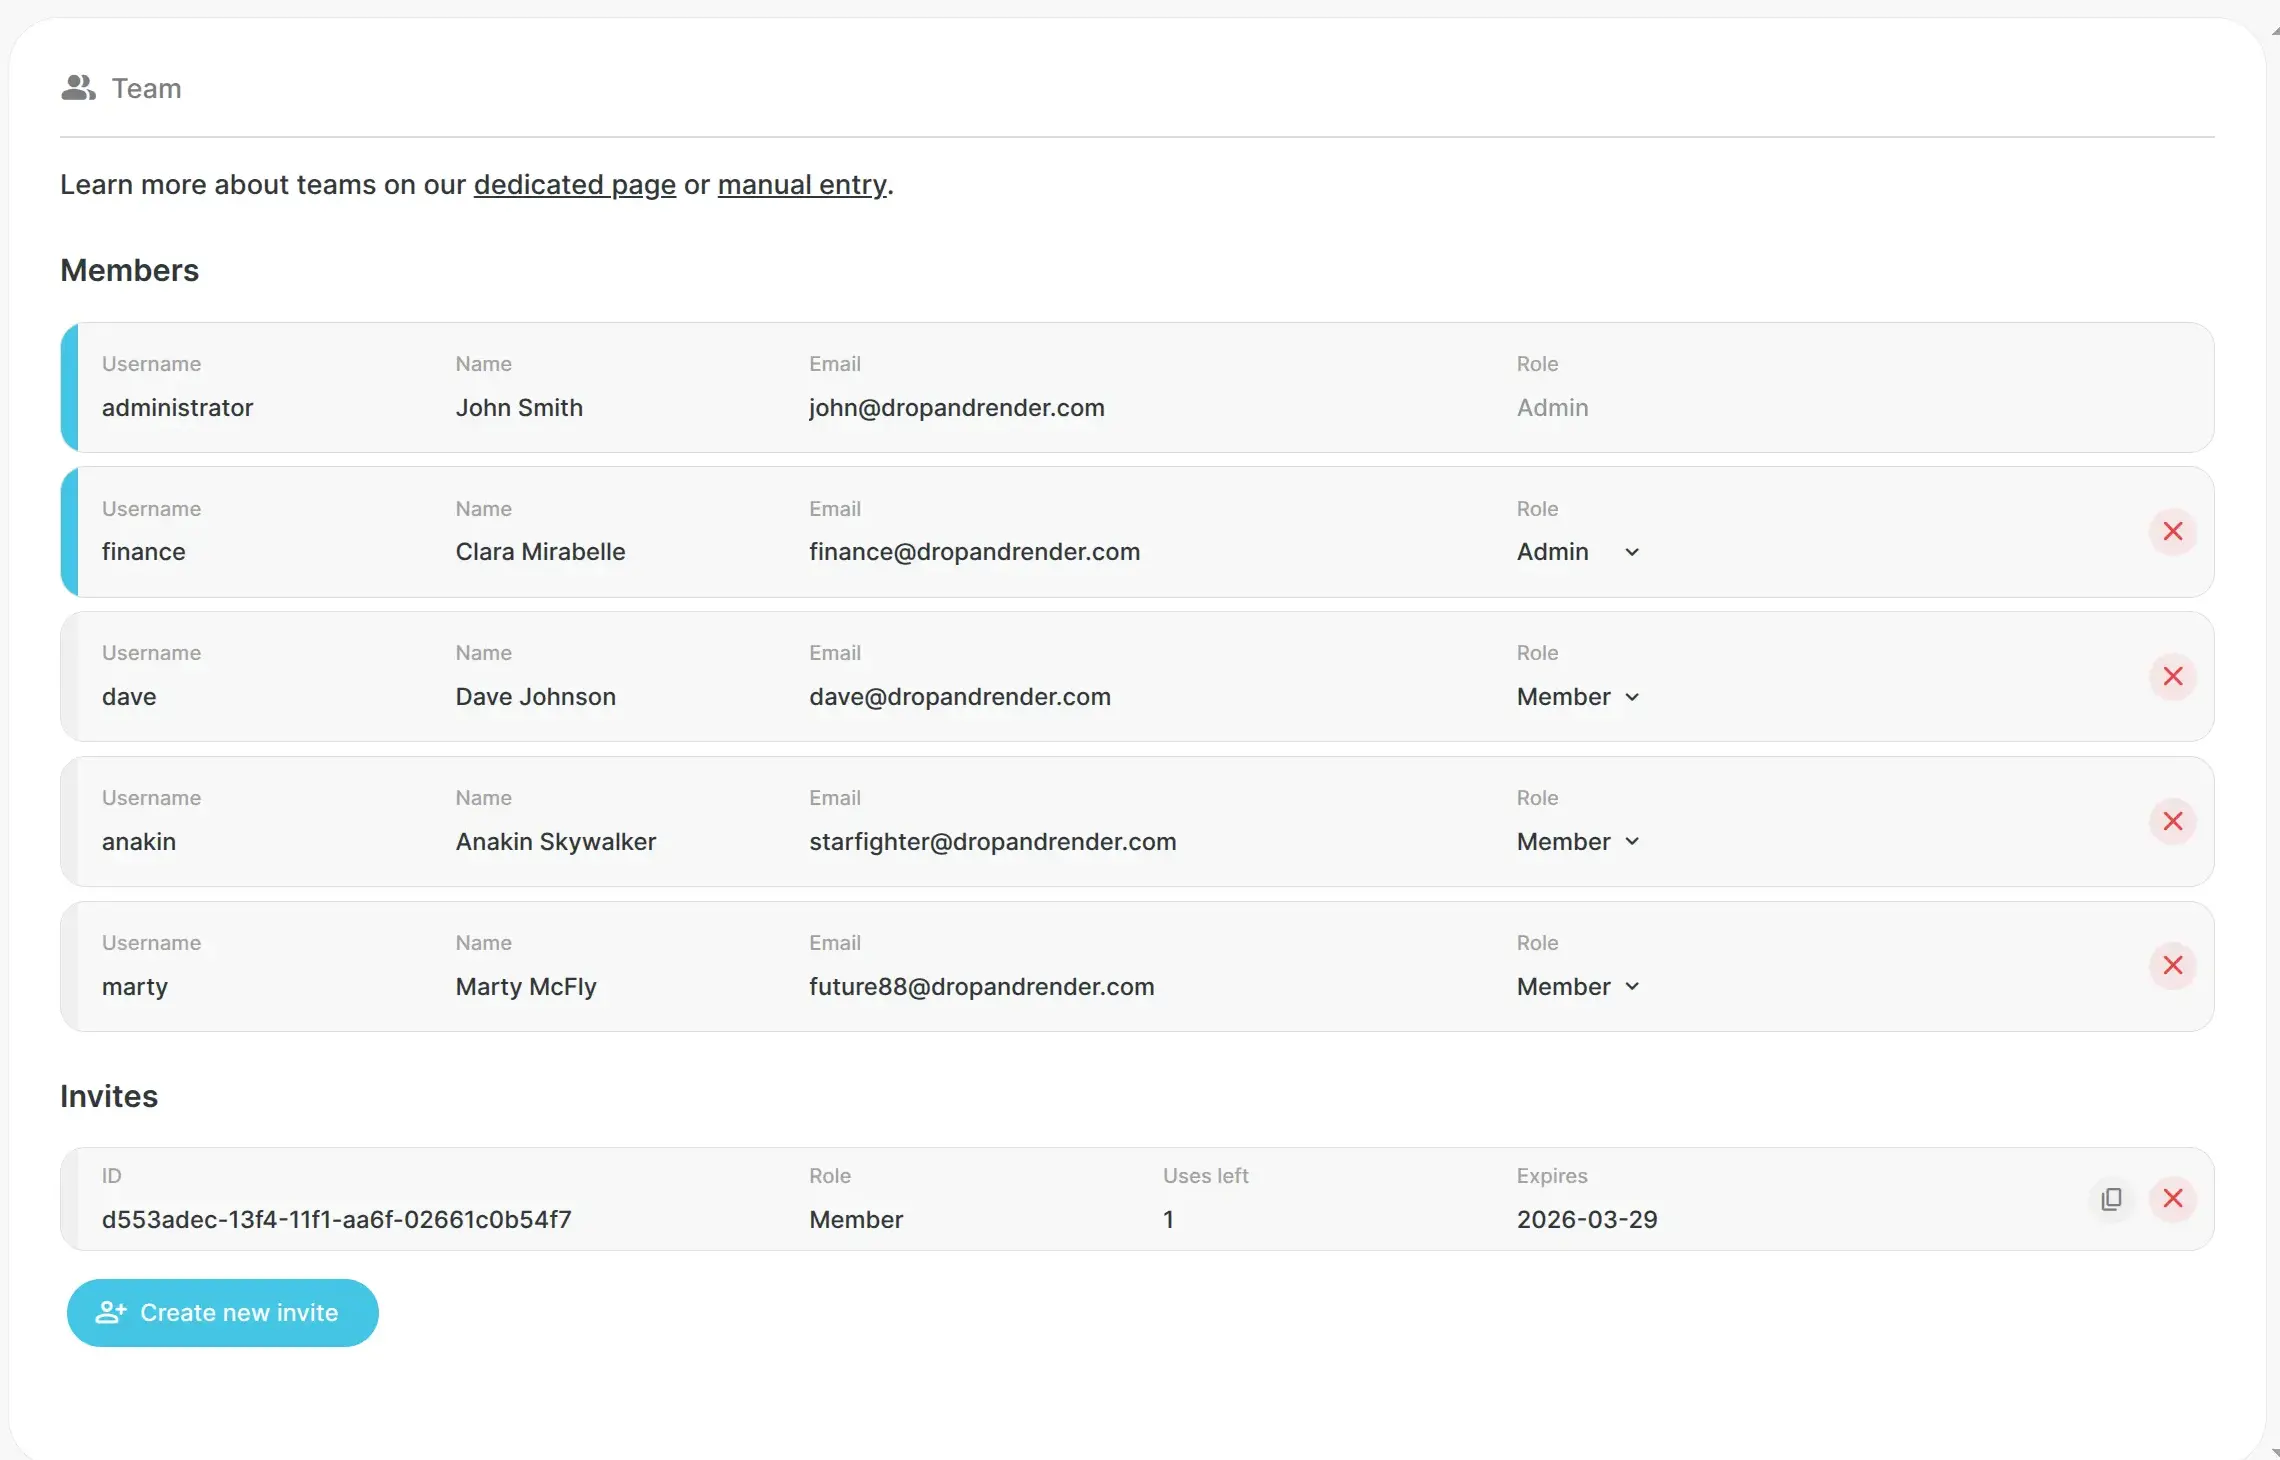
Monitor per-member usage
See a glanceable overview of each members usage for any given period. See their total spending, render times and additional metrics on one page.
Manage roles & permissions
Every member sees their own renders, invoices and account details. Administrators can see and manage details for the entire team.
Share cloud render data
The entire team can access assets uploaded by other members to the farm. Each file iteration only needs to be uploaded once for the whole studio.
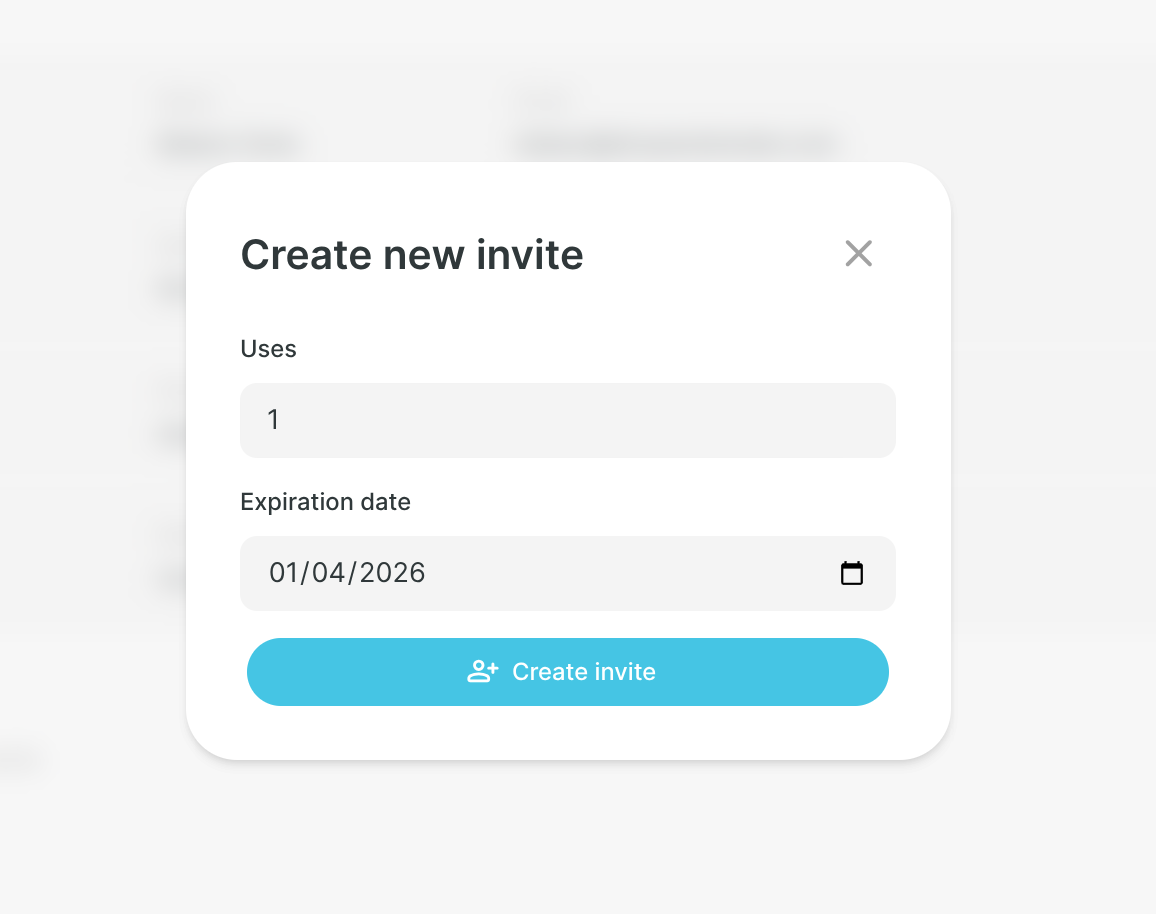
Control member accounts
Team administrators can invite members to create accounts. Members manage their own personal details, but the admin can delete them from the team.
Get team-wide support
Each member can start their own support tickets. Our team already knows which team they belong to, so we can provide help for the entire studio.
Our team features
All studio accounts represent a team led by the default administrator member. You can add additional members to better manage your office's ongoing projects.
| Feature | Team admin | Team member |
|---|---|---|
| Render jobs through our plugins |
check
|
check
|
| Manage personal account settings |
check
|
check
|
| Monitor personal renders |
check
|
check
|
| Access personal FTP folder |
check
|
check
|
| See personal invoices & usage metrics |
check
|
check
|
| Make payments, set up auto reload |
check
|
check
|
| Manage team members |
check
|
close
|
| Manage studio render settings |
check
|
close
|
| Monitor studio renders |
check
|
close
|
| Access studio FTP folder |
check
|
close
|
| See studio invoices & usage metrics |
check
|
close
|
| Per-seat or other team upcharges |
close
|
close
|
How to get started
All you need is a studio to get started with our Team system.
1
1. Create your account and set up our tools
Follow our getting started guide to get your account set up.
All studio accounts are created as team leaders, and are applicable for all team-related functionality. There are no additional costs or per-seat pricing when using teams; each member is charged standard rates for jobs.
2


Supported software
Company details