With so many new tools popping up, we as 3D animators have more options than ever to get inspired. In this blog, we will go over how to start a 3D animation. You might think that you need to just dive right into it, but to get the most out of yourself, you need to do research and give yourself time for some pre-production.
Introduction
As an animator for 15 years, I'd like to give you my best tips to get the most out of yourself. This guide is a good start for freelancers or small animation studios to build a solid animation workflow.
So let's get started!
Research (Conceptualization)
1. Write down your plan
Write down some quick story plans, elements that need to be in the animation, requirements from the client, etc., but don't focus too much on a script. It can be very loose!
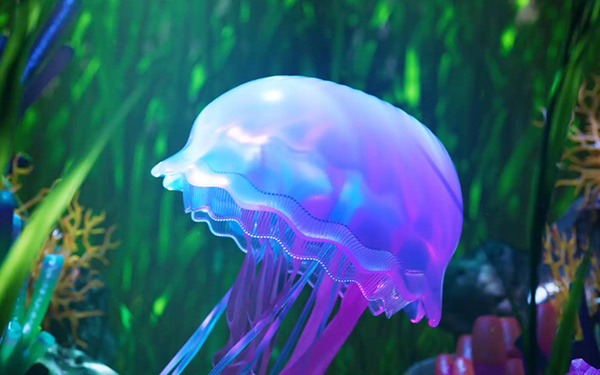
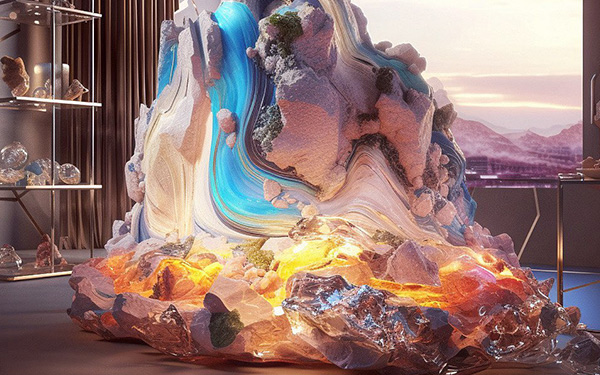
2. Find Inspiration
With these rough plans, open something like Pinterest and start finding things you like. Its user-friendly interface allows you to swiftly sift through a plethora of styles, pinpointing precisely what resonates with you. Don't be shy; add all the images that have an element in them that you like. A handy tip: as you navigate, save your favored images directly to your hard drive. We'll come back later to why we are doing this.

3. Harness the Power of AI
Next, AI image generators. This is such a powerful research tool. While numerous options exist, we're partial to Midjourney; it creates amazing-looking images. Leverage the inspiration you've gleaned from Pinterest, and guide the AI by incorporating these elements into your prompts. This will give you so many new ideas. Save all of them!

4. Collaborate and Comment on Miro
Once you have a collection of images, assemble them on a collaborative platform like Miro.. With this, you can create boards based on all the different ideas and directions you have. This tool's beauty lies in its interactive nature: you can annotate, add comments, and seamlessly share your evolving vision with colleagues or clients.
5. Draw Your Ideas
Before plunging into your go-to 3D application, consider refining your style frames using digital illustration tools. Platforms like Procreate and Photoshop are excellent for this. We're fans of Procreate due to its intuitive interface, making it a breeze to sketch out ideas or even overlay and paint on top of your references. Also, add these sketches to your Miro Board.

Bonus tip: Looking for a good AI color palette generator? Try Colormind. It creates beautiful colors that you can use for your animation.
Pre-Production
With these steps done, you should have a pretty good plan for what you'd like to create and how it will look. Now it's time to create art frames.
1. Script
It's time to write down your basic script, what will be the story of the animation, the elements that will be in the scene, describe the settings and feel of the piece. Don't hesitate and use ChatGPT for suggestions, use it as a starring partner to come up with ideas. The script very much depends on the type of animation. This guide is more about the thinking process, so we will not dive too deep into this. The script you make will be your guide for the next phase.
2. Concept Art
You're now full of inspiration, and you know what you'd like to create. Now open your favorite 3D application and start making still art frames. Don't go into detail too much, just make stuff that looks good and works with the direction you wanted. These can be close-ups of elements in the scene, lighting techniques you wanted to try out, simulations you need for your final renders, and much more. See what works and also accept it when it doesn't.
3. Storyboard
It seems pretty late, but only now it's time to build a storyboard. You should have a good understanding of what works and the art direction you'd like to go in. Everybody does storyboarding differently; you might do it on paper, digitally, or make rough shapes in your 3D program. More like an Animatic where you create the animation in low res. This is all fine. Do what works for you!
Depending on the project size, you can add additional steps like Model Sheets, Environmental Design, Character Design, but this all heavily depends on the project needs.
Production
With all these steps done, it's finally time to start your actual Production! Now make something beautiful.
Remember, the journey of creating is just as important as the destination. Embrace each step, and watch your vision come to life.
If you'd like to render your final animation, you can always use our service to access over 400 GPU cards with a single click. It's pretty amazing!